Sunday 25 September 2011

My kind of cupcakes and a beautiful cake

If you were stranded on a desert island what baked good would you take with you? This is a difficult question for me.  There are so many.  I think my favourite cake of all time would have to be an amazing chocolate cake by Damian Pignolet. 

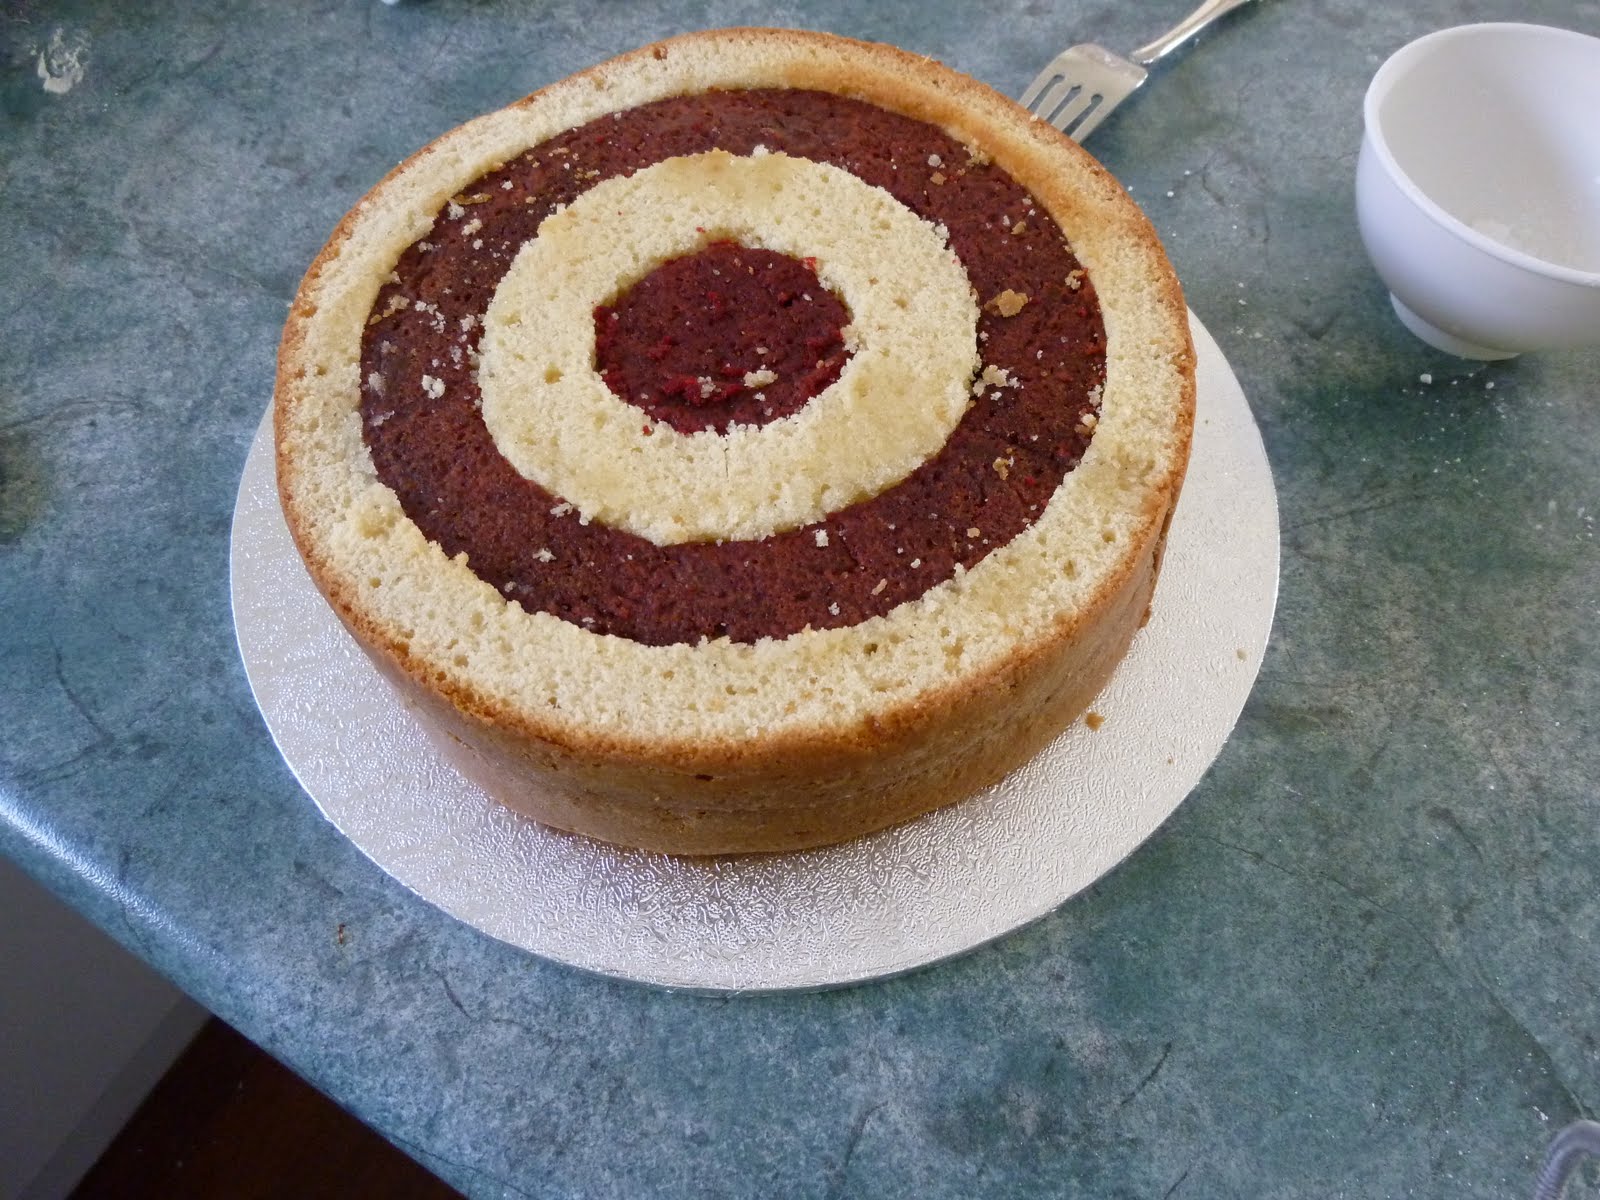
An old photo of my favourite cake
 

It is a flour less moussey (is that a word?! Moussy?) concoction that presses all of the right buttons for me. An added bonus is that it is gluten free.  My Mum is gluten intolerant so we bake a lot of gluten free cakes around here.  If you are interested in having a look the recipe is here.  Do yourself a favour and make it when you feel like a bit of decadence.  

But I digress.  I am very good at digressing so get used to it!  I am a chocoholic and made some cupcakes for my brother's girlfriend this past weekend and they were all kinds of good.

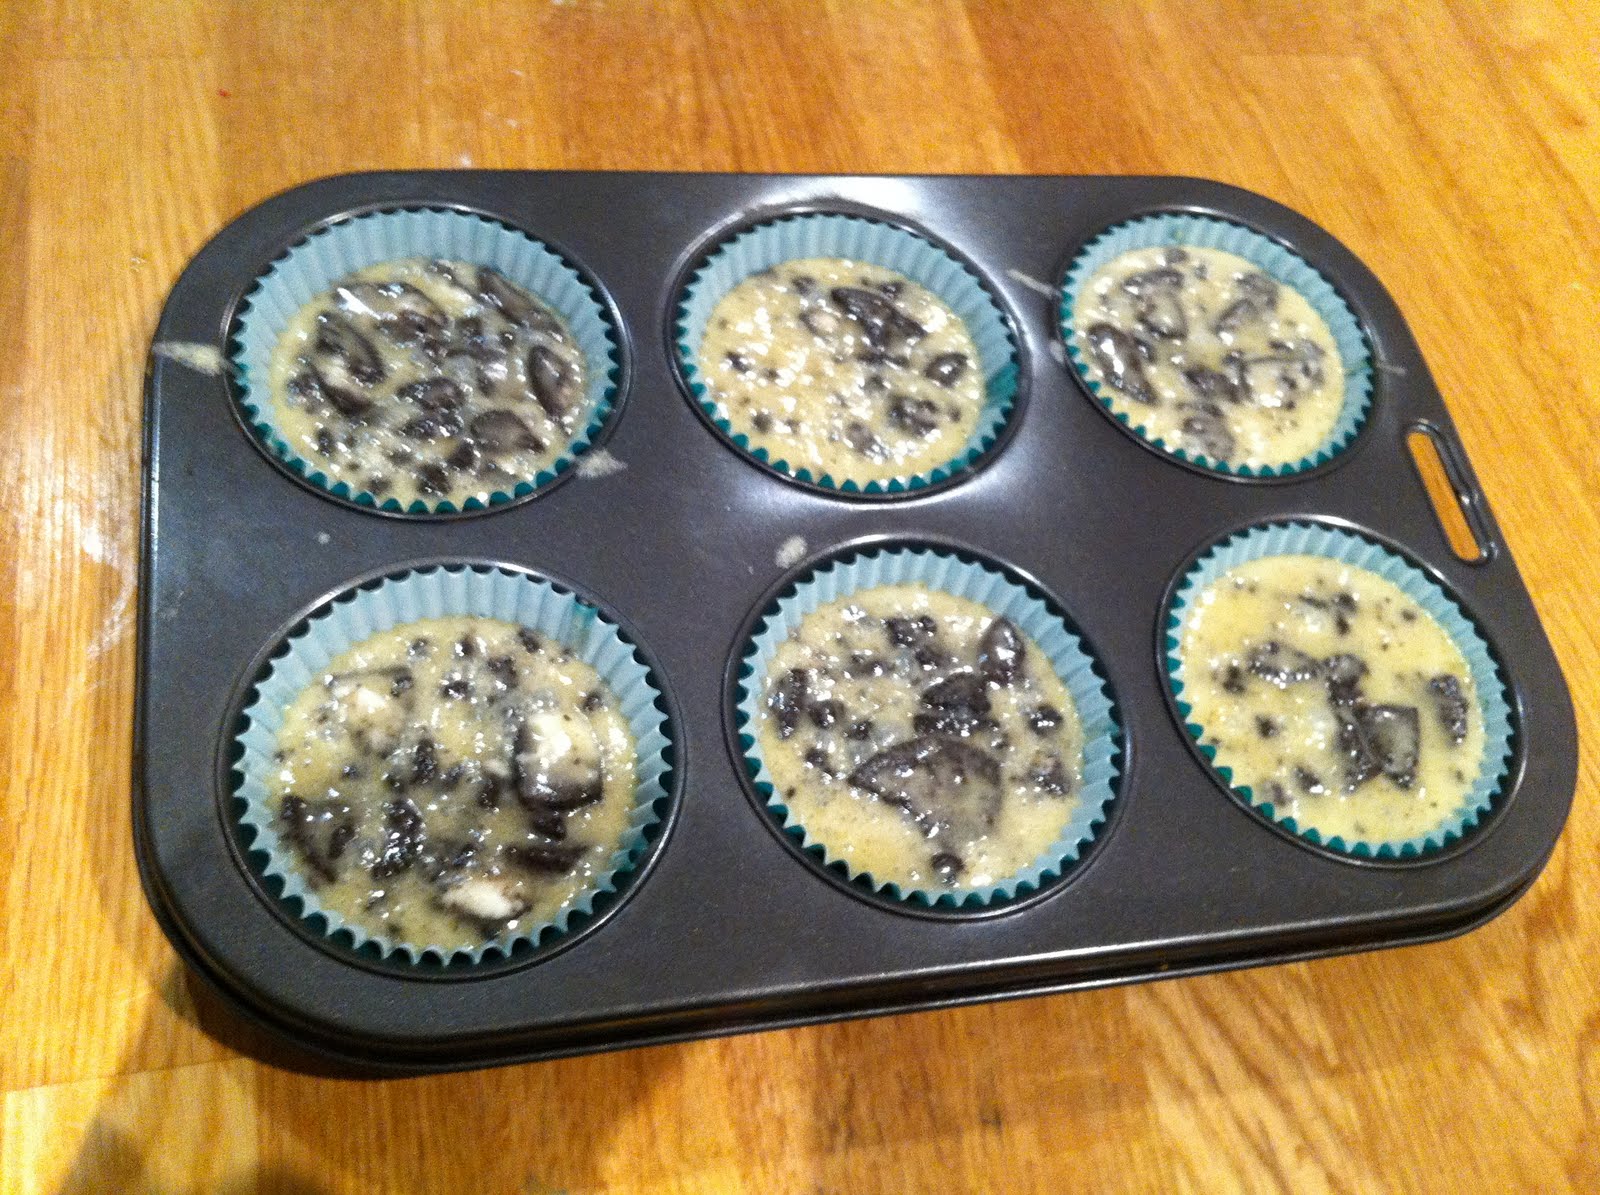
Dark chocolate cupcakes with chocolate fudge frosting
I think these might be my new desert island baked good.  Maybe we should change the rules.  I think I need to take more than one thing....

Dark chocolate cupcakes

Makes 12

1.5 tablespoons instant coffee
100ml hot water
125g unsalted butter, softened
150g dark cooking chocolate, chopped
2 eggs at room temperature
45ml vegetable oil
65ml buttermilk at room temperature
1 cup well sifted plain flour
1/8 teaspoon salt
3/4 teaspoon baking powder
1/4 teaspoon bicarb soda
1 1/4 cups castor sugar
1/4 cup of cocoa

Preheat your oven to 160 degrees Celsius and line your trays with patty pans.

Combine the coffee and hot water.  Place the butter, chocolate and coffee mixture into a metal bowl over a large saucepan of barely simmering water.  Stir until the ingredients have melted and the mixture is smooth.  Cool to room temperature.  

Whisk together eggs, oil and milk until combined.

In another bowl sift the flour, salt, baking powder, bicarb, sugar and cocoa.  Use a wire whisk to combine. Make a well in the centre and add the egg mixture.  Gently stir to combine.  Add the chocolate mixture and mix carefully but thoroughly until combined.  

Fill the patty pans half way and bake for approximately 25 minutes.  You will be able to tell if they are cooked by lightly touching the surface of the cake.  Remove from trays and cool for a minimum of half an hour before frosting.  

Notes - If you can afford it, premium cocoa will really make a difference to your cakes.  It is the most amazing stuff.  You can get if from specialty food stores such as The Essential Ingredient and chocolatiers such as Koko Black.  
- use the best quality chocolate that you can afford to lift the flavour of your cakes.  
- even if you don't like coffee add it.  It intensifies the flavour of the chocolate. 
- try not to open the oven for 20 minutes or your cakes may sink in the middle.

Chocolate Fudge Frosting

 4 cups of icing sugar
1/2 cup cocoa
100g unsalted butter, softened
100ml milk at room temperature, approximate
1.5 teaspoons vanilla extract

Makes enough frosting to generously swirl 12 cupcakes

Sift the icing sugar and cocoa together.  

Cream the butter and sugar until fluffy and lighter in colour.  Add half of the milk, half of the icing sugar and vanilla.  Beat until the mixture until it is light and fluffy (approximately two minutes with a KitchenAid).  Add the remaining icing sugar and mix for a further few minutes.  Add the remaining milk gradually until you reach the desired consistency. 

Notes - I piped my cupcakes using a 1M tip
- I used regular cocoa for this recipe as I was concerned that premium cocoa might be too intense.  That can be my next experiment!  
- Use the best quality vanilla extract you can afford.  A better quality vanilla will most certainly lead to a superior taste.  Neisen-Massey vanilla is sublime.  


You won't be able to go back to the regular stuff once you have used it so be warned!  You can buy it at speciality food stores such as The Essential Ingredient.  My local cake decorating store, Blackwood Lane in Oakleigh, Melbourne, sells it for a competitive price.  

What baked good would you take with you if you were stranded on a desert island? I would love to hear your comments.  

Susie xx


Wednesday 14 September 2011

Just a little bit different.

The Mother's Association of Australia called today to tell me that I won't be winning the Mother of the Year award for 2011. Oh well, maybe next year.

There are a few reasons why I am not going to be the mother of the year. Here are a couple of reasons, for those of you that don't look at our Facebook page:


But this blog is about my latest time consuming baking effort. I wanted to make something a little bit different so I asked Susie if she had any ideas. She showed me the vertical layered cake by I Am Baker..... Vertical layers of red velvet and vanilla cakes covered with white buttercream rosettes. Vanilla, red velvet and cream, OH MY!

So I attempted it, but I didn't use any of the cake recipes that I Am Baker used. I used Bakerella's red velvet cake, Martha Stewart's white cake, and Bakerella's cream cheese frosting. I have to be careful what recipes I choose because my oven is due for replacement and it doesn't let me cook anything that is a bit delicate.

So here is how they were made (I'm a lover of "point form", I hope that suits everyone):

 Bakerella's red velvet cake:
2 1/2 cups all purpose flour
2 cups sugar
1 Tablespoon cocoa
1 teaspoon salt
1 teaspoon baking soda
2 eggs
1 1/2 cups oil
1 cup buttermilk
1 tablespoon vinegar
1 teaspoon vanilla
50ml red food coloring
  • Preheat oven to 180 degrees.
  • Grease and flour two 8 inch cake pans.
  • Lightly stir eggs in a medium bowl with a wire whisk. Add remaining liquid ingredients and stir together with whisk until blended. Set aside.
  • Place all the dry ingredients in your mixing bowl and stir together well with another wire whisk.
  • Add wet ingredients to the dry ingredients and mix on medium-high for about a minute or until completely combined.
  • Pour into cake pans and then drop the pans on the counter a few times to release any air bubbles.
  • Bake for about 30 minutes or until a toothpick inserted comes out clean.
Martha Stewart's perfect white cake. (Well, I don't know if I'd call it perfect, but it's nice). Note: This recipe is enough to make three 8 inch cakes, so you will have excess mixture. I made some cupcakes with it.

8 ounces plus 2 tablespoons unsalted butter, room temperature, plus more for pans
4 1/2 cups plain flour, plus more for pans
1 1/2 cups whole milk
9 large egg whites, lightly beaten
1 tablespoon pure vanilla extract
1/2 teaspoon almond extract
2 tablespoons baking powder
1 1/2 teaspoons salt
2 1/4 cups sugar

  • Preheat oven to 180 degrees. Butter and flour two 8 inch round cake pans, tapping out excess flour; set aside.
  • In a medium bowl, stir together, milk, egg whites, and extracts. Into a second medium bowl, sift together the flour, baking powder, and salt; set aside.
  • In the bowl of an electric mixer fitted with the paddle attachment, beat the butter on medium speed for 30 seconds. With machine running, gradually add the sugar. Continue beating until light and fluffy, about 2 minutes. Scrape down sides of bowl as necessary.
  • Add one-third of the flour mixture and one-third of the milk mixture, and beat on low speed until just incorporated. Add remaining flour and milk mixtures in 2 separate batches beating between additions to fully incorporate. Scrape down sides of bowl, and stir by hand to finish.
  • Divide batter evenly between prepared pans. Smooth surface with a rubber spatula. Bake until top of cake springs back when lightly pressed and a cake tester inserted in the center comes out clean, 25 to 30 minutes.
Assembling the cakes.
  • Bake two 8 inch red velvet cakes.
  • Within 5 minutes of removing the cakes from the oven cut the crusty tops off them and put the two cakes together, with the cut sides against each other. Wrap them in glad wrap and put them in the freezer for at least 5 hours.
  • Bake two 8 inch vanilla cakes, and repeat the cutting and wrapping process.
  • Cut out an 8 inch round piece of cardboard and draw three circles inside:


I used a compass to space the circles evenly 1 inch apart, but it doesn't matter if they're a bit wonky.
 

  • Use the circles as a guide and cut rings out of the cakes:


Be mindful of how straight your knife is when you're doing this.
 

  • Assemble the layers like this:
  • Drizzle a little simple syrup over the cakes to help bind them.
  • Re wrap them in glad wrap and tie a tea towel around them to help bind them:


  • Put them back in the freezer for at least an hour to make sure they stick together properly.
  • Remove from the freezer at least a couple of hours before you plan to decorate them. You don't want to ice a frozen cake.
Bakerella's cream cheese frosting:

8 oz. cream cheese, room temperature
1 cup butter, room temperature
1 teaspoon vanilla
6 cups icing sugar

  • Sift sugar and set aside.
  • Beat cream cheese and butter on high until creamy. Add vanilla.
  • Then, add the sugar in batches. Scrape down the sides in between each addition.
  • I added a little cream to the mixture as it was a bit too stiff to pipe. See how you go.
Decorating!
Now, you can decorate these cakes however you like, here is what I did:

For the first cake I copied I Am Baker's technique of covering the cake in rosettes. To do this I covered the cake in a crumb coat of frosting and popped it in the fridge for 10 minutes.

Very messy crumb coat. Who cares!?

Then using a piping bag with an M1 tip I covered the cake in rosettes, just like one would do to a cupcake.


Fill in the gaps with extra lines of piping, in the same direction as your rosettes.

For the second cake I just covered it with cream cheese frosting and placed some hand made sugar roses around the edges:


Enjoy! Katy.xx

Sunday 4 September 2011

What's not to like?

Remember when Hershey's came to Australia and we had cookies and cream chocolate readily available for the first time?  Where did they go? Cookies and cream is such a fabulous combination.  Another fabulous thing is a cupcake.  Why not merge the two?  I have seen many recipes for cookies and cream cupcakes but for some reason I decided to come up with my own recipe and can I tell you these. were. delicious.  My brother ate at least six of these babies, although that isn't necessarily a good indication of how good they are as he tends to eat excessive amounts of everything - five packets of two-minute noodles at once, three chocolate bars in one sitting...you catch my drift.  Hang on.  I'm not really selling my cupcakes here, am I?! They are great and I will most certainly be making them again.  And again.  And again.  

I decided to tweak a favourite recipe of mine, The Crabapple Bakery White Chocolate Mudcake recipe, and I kinda made the frosting up.  Luckily it worked, quite well in fact!  

First you sift the flour and baking powder together and set it aside.  

Melt the chocolate, butter, sugar and milk in a metal bowl over a saucepan of slow simmering water, stirring constantly.  In my house constantly is once every few minutes.  Those pesky gorgeous kids keep getting in the way!

A good tip is to put a tea towel around the rim of the saucepan to stop the bowl from slipping

Set this mixture aside until it comes to room temperature.  I normally allow a minimum of fifteen minutes.  

Crack two eggs into a bowl and whisk lightly.  Add the vanilla.  

Try to use good quality free range eggs if you can.  It really does make a difference.  
When the chocolate mixture is cool, gradually add the flour to the mixture while lightly whisking.  


This is a trick that I discovered that really helps to stop the mixture becoming lumpy, a recurring problem for this recipe.  I know it is hard to comprehend how I could make something without a KitchenAid, but there you have it.  Don't worry.  I use it for the frosting.  Phew.  


Now comes the best part.  


I find Oreos kinda boring on their own and wouldn't really choose to eat them, but wow, once they are added to a liquidy (made up word, I know, but it perfectly suits what I am trying to describe so :-P) substance they are a.maze.ing.  I experimented with a few different ways of adding the Oreos to my cupcakes.  I put whole Oreos in the bottom of the patty pan - 


and I crushed ten Oreos up and added them to the remaining mixture.  Fill your patty pans - 


I like to fill the pans to about four fifths with this batter. 
Bake for approximately twenty-five minutes at 150 degrees , although my oven is really hot so I tend to drop the temperature to about 140.  Damn.  You'll have to make a few batches until you find what is right for your oven.  


The end result of the cupcakes with the whole Oreo was interesting!  The Oreo floated up in a few of them and stayed at the bottom in the rest.  


The ones with the crushed Oreos looked fabulous and I was positive that I would prefer them over the floating Oreo ones!  


Don't these look great? I made some mini ones for the kidlets, too.
Dear husband and I had a taste test and both decided that we liked the ones with the whole Oreo better.  It was almost like a brownie inside a cupcake.  Yum.  But then I had another of the crushed ones today and it had really big chunks and I decided that it was my favourite.  But the frosting.  Oh the frosting.  It was a buttercream with crushed Oreos added but is was ssssssooooooo good.  I could have eaten the whole bowl.  I forgot to take photos before my gluttonous brother arrived and by the time I got around to it there was only one lonely frosted cupcake left.  


Do yourself a favour.  Make these now.  


Cookies and Cream Cupcakes


2 cups plain flour
3/4 teaspoon baking powder
250 grams unsalted butter
150 grams good quality white chocolate
2 cups castor sugar
1 cup full cream milk
2 large eggs
1 teaspoon vanilla extract
12 Oreos, minimum


Sift flour and baking powder into a bowl.  Set aside.  


Place a metal bowl over a saucepan of slowly simmering water.  Place the butter, chocolate, sugar and milk into the bowl and stir constantly until the chocolate and butter are melted and the sugar is dissolved. Set aside until it has cooled to room temperature.  


Meanwhile, preheat the oven to 150 degree Celcius and place patty pans into cupcake pans. Lightly whisk two eggs and add the vanilla. 


When the chocolate mixture is cool, add the egg mixture and gently fold.  Gradually add the flour mixture, whisking lightly as you go to prevent lumps from forming.  


If you are going to use whole Oreos, place them in the patty pans and gently pour or spoon the batter over the top.  If you are using crushed Oreos then crush twelve or more of them with the back of a spoon in a bowl until they are the desired consistency and add to the batter.  Spoon the batter into the patty pans.


Bake for approximately twenty-five minutes.  Cool in tins for ten minutes before turning out to cool completely on racks.  Do not frost for at least 45 minutes.  


Cookies and Cream Frosting


200 grams unsalted butter, softened
600 grams pure icing sugar, sifted
1 teaspoon vanilla extract
2-3 tablespoons full cream milk
12 crushed Oreos


Beat the butter until smooth.  Gradually add the icing sugar, beating after each addition.  Once all of the sugar is added beat for 3 minutes to create a creamy consistency and take away some of the yellow of the butter.  Add the vanilla and beat to incorporate.  Add a tablespoon of milk at a time until you reach the desired consistency.  Crush the Oreos in a bowl with the back of a spoon and add to the frosting mixture.


Spoon the frosting onto the cupcakes and spread.


I hope you try this recipe and enjoy the cupcakes as much as we did! 


Susie xx